Subtitles are a game-changer for video content, boosting accessibility, engagement, and SEO performance across platforms like YouTube, Instagram, and TikTok.
Whether you’re a beginner or a seasoned editor, DaVinci Resolve offers powerful tools to create professional subtitles, both manually and automatically.
In this comprehensive guide, we’ll walk you through the process of adding subtitles in DaVinci Resolve, explore best practices, and answer common questions to help you elevate your videos with captivating captions.
Importance of Subtitles in Video Content
 Subtitles are more than just text on a screen, they’re a powerful tool to elevate your video’s reach, accessibility, and performance.
From boosting engagement to expanding your audience, here’s why subtitles are essential for modern video content.
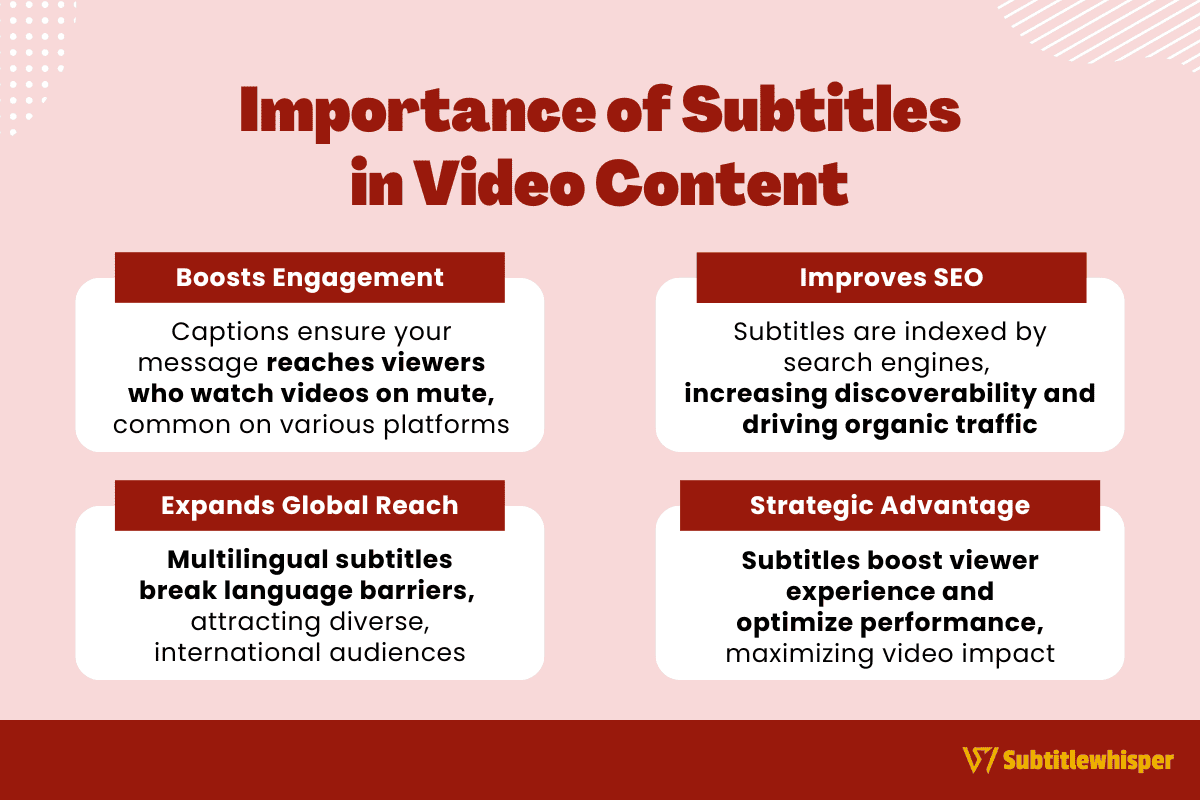
Enhanced Viewer Engagement
Subtitles make videos accessible to viewers who watch without sound, a common practice on platforms like Instagram and TikTok, where most users prefer muted playback.
Captions ensure your message reaches these audiences effectively.
Improved Search Engine Optimization (SEO)
Search engines and platforms like YouTube can index subtitle text, increasing your video’s discoverability.
Videos with captions often rank higher in search results, driving more organic traffic to your content.
Expanded Global Accessibility
Subtitles enable non-native speakers to engage with your videos, breaking down language barriers.
By offering multilingual subtitles, you can attract a diverse, international audience and boost your global reach.
Strategic Advantage
Incorporating subtitles not only enhances the viewer experience but also positions your videos for better performance across platforms, making them a vital tool for content creators aiming to maximize impact.
Does DaVinci Resolve Support Automatic Captions?
Yes!
DaVinci Resolve supports automatic captioning through a speech-to-text feature introduced in DaVinci Resolve Studio 18.5, available only in the paid Studio version.
This tool analyzes video audio to generate accurate transcriptions, which can be converted into subtitles directly within the software, streamlining the workflow for Studio users.
Free version users, however, lack access to this feature and must rely on manual subtitling or third-party tools to create captions, options that can still be effective with additional effort.
How to Add Automatic Subtitles in DaVinci Resolve
For DaVinci Resolve Studio users, adding automatic subtitles is a straightforward process thanks to the built-in speech-to-text feature.
However, free version users can achieve similar results using a third-party tool like Auto-Subs, an AI-powered plugin.
Below is a step-by-step guide to generating and integrating automatic subtitles in DaVinci Resolve.
Step 1: Configure the Auto-Subs Tool
Visit the Auto-Subs GitHub repository to download the latest free plugin version.
After downloading, extract the files and run the installer, following the on-screen prompts to set it up.
Open your DaVinci Resolve project, navigate to “Workspace” > “Scripts” > “AutoSubs V2” to launch the Auto-Subs interface.
Select your video’s audio track from the dropdown menu and choose a transcription model (the default, based on OpenAI’s Whisper, is suitable for most projects).
Click “Start” to let the AI transcribe the audio and generate subtitle timings, then export the result as an .SRT file.
Step 2: Import and Fine-Tune Subtitles
In DaVinci Resolve, go to “File” > “Import” > “Subtitle” and select the .SRT file you created.
A subtitle track will appear on your timeline; drag it to align with the video’s start for proper synchronization.
Review the subtitles for accuracy, as AI transcriptions may require minor adjustments.
Use the Subtitle panel or click subtitle blocks directly to edit text or shift timings by dragging them on the timeline.
Step 3: Style Your Subtitles
To give your subtitles a polished look, select a subtitle block and access the Track panel to customize font, size, color, position, or add a background.
These options are available in both free and Studio versions, allowing for professional-grade styling.
Save your custom design as a preset for consistent use across projects.
Step 4: Export the Video with Subtitles
On the Deliver page, finalize your export settings.
Choose to either bake the subtitles into the video (hardcoded) or export them as a separate .SRT or .VTT file for flexibility.
Hit “Render” to complete the process, producing a video with seamlessly integrated subtitles.
How to Add Manual Subtitles in DaVinci Resolve
Manual subtitling in DaVinci Resolve offers precise control, ensuring accurate text, perfect sync, and tailored styling without relying on automated tools.
This method is ideal for custom translations or when AI transcription isn’t an option. Below is a step-by-step guide to creating manual subtitles.
Step 1: Set Up a Subtitle Track
Navigate to the Edit tab in DaVinci Resolve. From the Timeline menu, select “Add Subtitle Track” to create a dedicated subtitle layer above your video timeline.
This track will house all your subtitle entries for easy management.
Step 2: Add and Edit Subtitles
In the Media Pool, go to the Effects Library, locate “Titles,” and select “Subtitles.”
Drag a subtitle clip onto the subtitle track.
In the Inspector panel, input your subtitle text. Adjust the clip’s duration and position on the timeline by dragging its edges to sync with the audio or video.
Step 3: Style Your Subtitles
Click a subtitle clip and use the Inspector panel to customize its appearance.
Modify the font, size, color, and position, or add a background for clarity.
Enhance readability with effects like shadows or outlines, ensuring subtitles stand out against diverse video backgrounds.
Step 4: Export Your Subtitled Video
On the Deliver page, access Subtitle Settings to choose your export method: either burn subtitles directly into the video (hardcoded) or export them as a separate .SRT file.
Render your project to finalize the output.
Best Practices for Subtitling in DaVinci Resolve
 Effective subtitling in DaVinci Resolve enhances viewer engagement and accessibility while ensuring a professional look.
Follow these best practices to optimize your subtitles for clarity and impact.
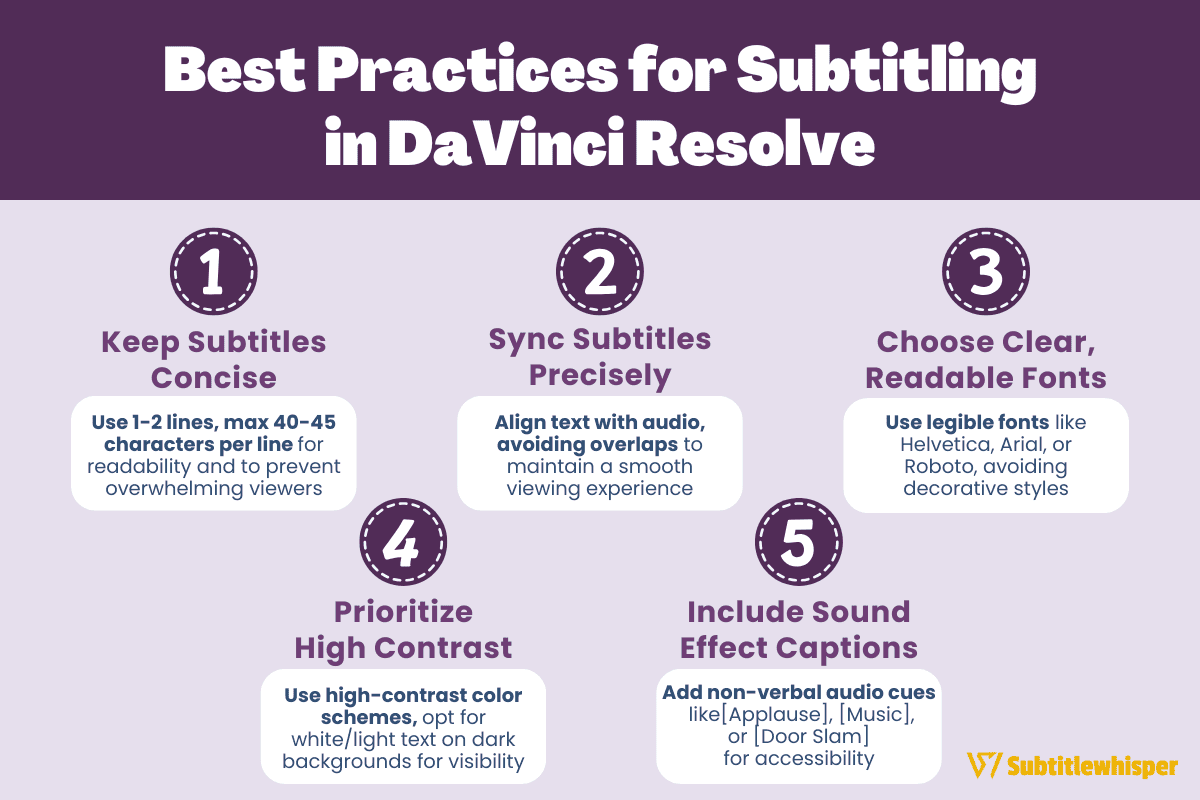
Keep Subtitles Concise
Limit subtitles to one or two lines, with a maximum of 40-45 characters per line.
Short, clear text ensures readability and prevents overwhelming viewers, especially on fast-paced videos.
Sync Subtitles Precisely
Align subtitles closely with the audio, ensuring text appears and disappears in rhythm with spoken dialogue.
Avoid overlapping subtitles to maintain a smooth viewing experience.
Choose Clear, Readable Fonts
Select simple, professional fonts like Helvetica, Arial, or Roboto for maximum legibility.
Avoid decorative fonts that may distract or strain the viewer’s eyes.
Prioritize High Contrast
Use high-contrast color schemes, such as white or light-colored text on a dark background or outline, to ensure subtitles are visible against varied video backgrounds.
Include Sound Effect Captions
For accessibility, add captions for non-verbal audio cues, such as [Applause], [Background Music], or [Door Slam].
This ensures all viewers, including those with hearing impairments, fully understand the content.
Best Alternatives to Word Transcription: Subtitlewhisper
While DaVinci Resolve Studio’s automatic captioning feature, introduced in version 18.5, offers a convenient way to generate subtitles using built-in speech-to-text technology, it is limited to the paid Studio version and unavailable in the free edition.
Additionally, its functionality may not suit users needing more advanced customization or cross-platform compatibility.
For users seeking a more flexible or user-friendly transcription solution, Subtitlewhisper stands out as an excellent alternative.
Powered by OpenAI’s Whisper technology, Subtitlewhisper helps users effortlessly transcribe video content with an accuracy rate of up to 98.5%.
This tool supports over 50 languages, making it ideal for creators and viewers worldwide who want quick, reliable transcriptions. (Try Subtitlewhisper for free!)
Here’s how to add subtitles to your video using Subtitlewhisper:
-
Upload your video.
Start by uploading the video you want to transcribe or paste its YouTube link.
-
Transcribe your video with one click.
Click the “Generate subtitles now” button, and the AI will create an accurate transcript for your video.

-
Edit your transcript.
Once the auto-transcription is complete, review and edit the transcript using Subtitlewhisper’s online editor. Each subtitle is time-stamped and editable like a text document, making adjustments simple.

-
Download your transcription (optional).
Finally, download the transcript in formats like .srt, .txt, .docx, or .csv.

What sets Subtitlewhisper apart from other subtitling methods is its simplicity. With its intuitive interface, you can upload and transcribe videos in just a few clicks, saving time while ensuring high-quality results.
Whether you’re working on your own videos or someone else’s, Subtitlewhisper streamlines the process, letting you focus on content rather than technical details. Try Subtitlewhisper for free today!
How to Add Subtitles in DaVinci Resolve: Frequently Asked Questions
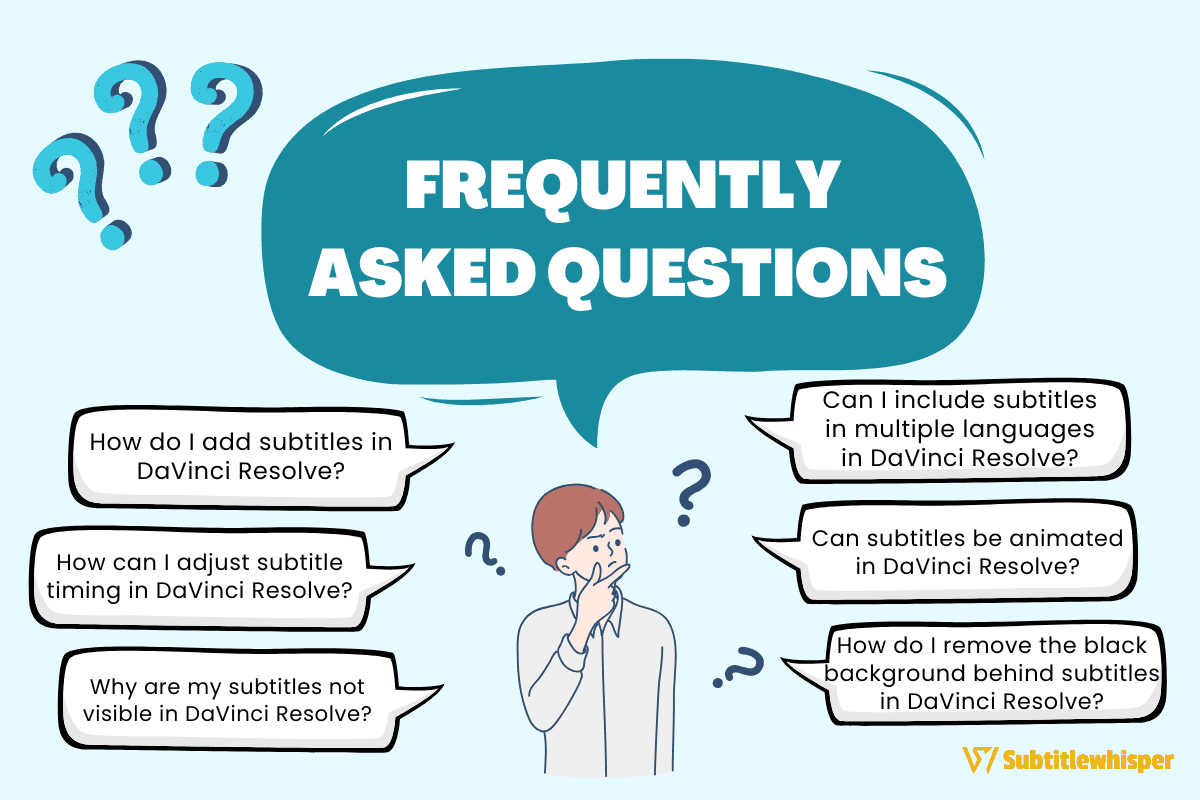 Below are answers to common questions about adding and managing subtitles in DaVinci Resolve, designed to help you troubleshoot issues and streamline your subtitling workflow.
1. How do I add subtitles in DaVinci Resolve?
To create subtitles in DaVinci Resolve, navigate to the Edit tab and select Timeline > Add Subtitle Track to create a dedicated track.
Drag subtitle clips from the Effects Library (under Titles > Subtitles) onto the track, then use the Inspector panel to input text and set timing.
For users of DaVinci Resolve Studio, automatic subtitles can be generated using the built-in speech-to-text feature, streamlining the process.
2. How can I adjust subtitle timing in DaVinci Resolve?
To modify subtitle timing, click the subtitle clip in the timeline and drag its edges to adjust the duration.
For precise control, open the Inspector panel and edit the start and end times manually.
You can also use the shortcut Shift + Arrow Keys to nudge timings for accurate synchronization with audio or video.
3. Why are my subtitles not visible in DaVinci Resolve?
If subtitles aren’t appearing, verify that the subtitle track is enabled by right-clicking the timeline and selecting “Enable Subtitle Track.”
Ensure the subtitle clips are correctly positioned on the timeline and not hidden or placed off-screen.
Check the Inspector panel to confirm the subtitle’s opacity and position settings are correct.
4. Is it possible to include subtitles in multiple languages in DaVinci Resolve?
Absolutely, DaVinci Resolve supports multi-language subtitles by allowing you to create separate subtitle tracks for each language.
Navigate to Timeline > Add Subtitle Track to add a new track for each language.
You can then populate each track with the respective subtitles and either export them as individual .SRT files or embed them into different video versions for distribution.
5. Can subtitles be animated in DaVinci Resolve?
Yes, you can animate subtitles to enhance their visual appeal.
Use the Fusion tab for advanced animations or the Inspector panel to apply keyframes for properties like position, scale, or opacity.
This enables dynamic subtitle transitions, such as fades or slides, tailored to your video’s style.
6. How do I remove the black background behind subtitles in DaVinci Resolve?
To eliminate or adjust the black background on subtitles, select the subtitle clip in the timeline, go to the Inspector panel, and locate the background settings.
Reduce the background opacity to make it transparent or customize the color and style to match your video’s aesthetic.
